Introduction to Pattern
January, 2025
Istanbul, Türkiye
Let’s take a moment to explore patterns: where do we see them? what are they used for? do they have meaning? how are they made?
Through four different activities, we will learn methods for pattern making that take us out of the routine of singular images and push us into repetition, organic movements, and 'the bigger picture'. Each activity is described below through steps and materials, as well as a guiding video related to the technique.
Activity:
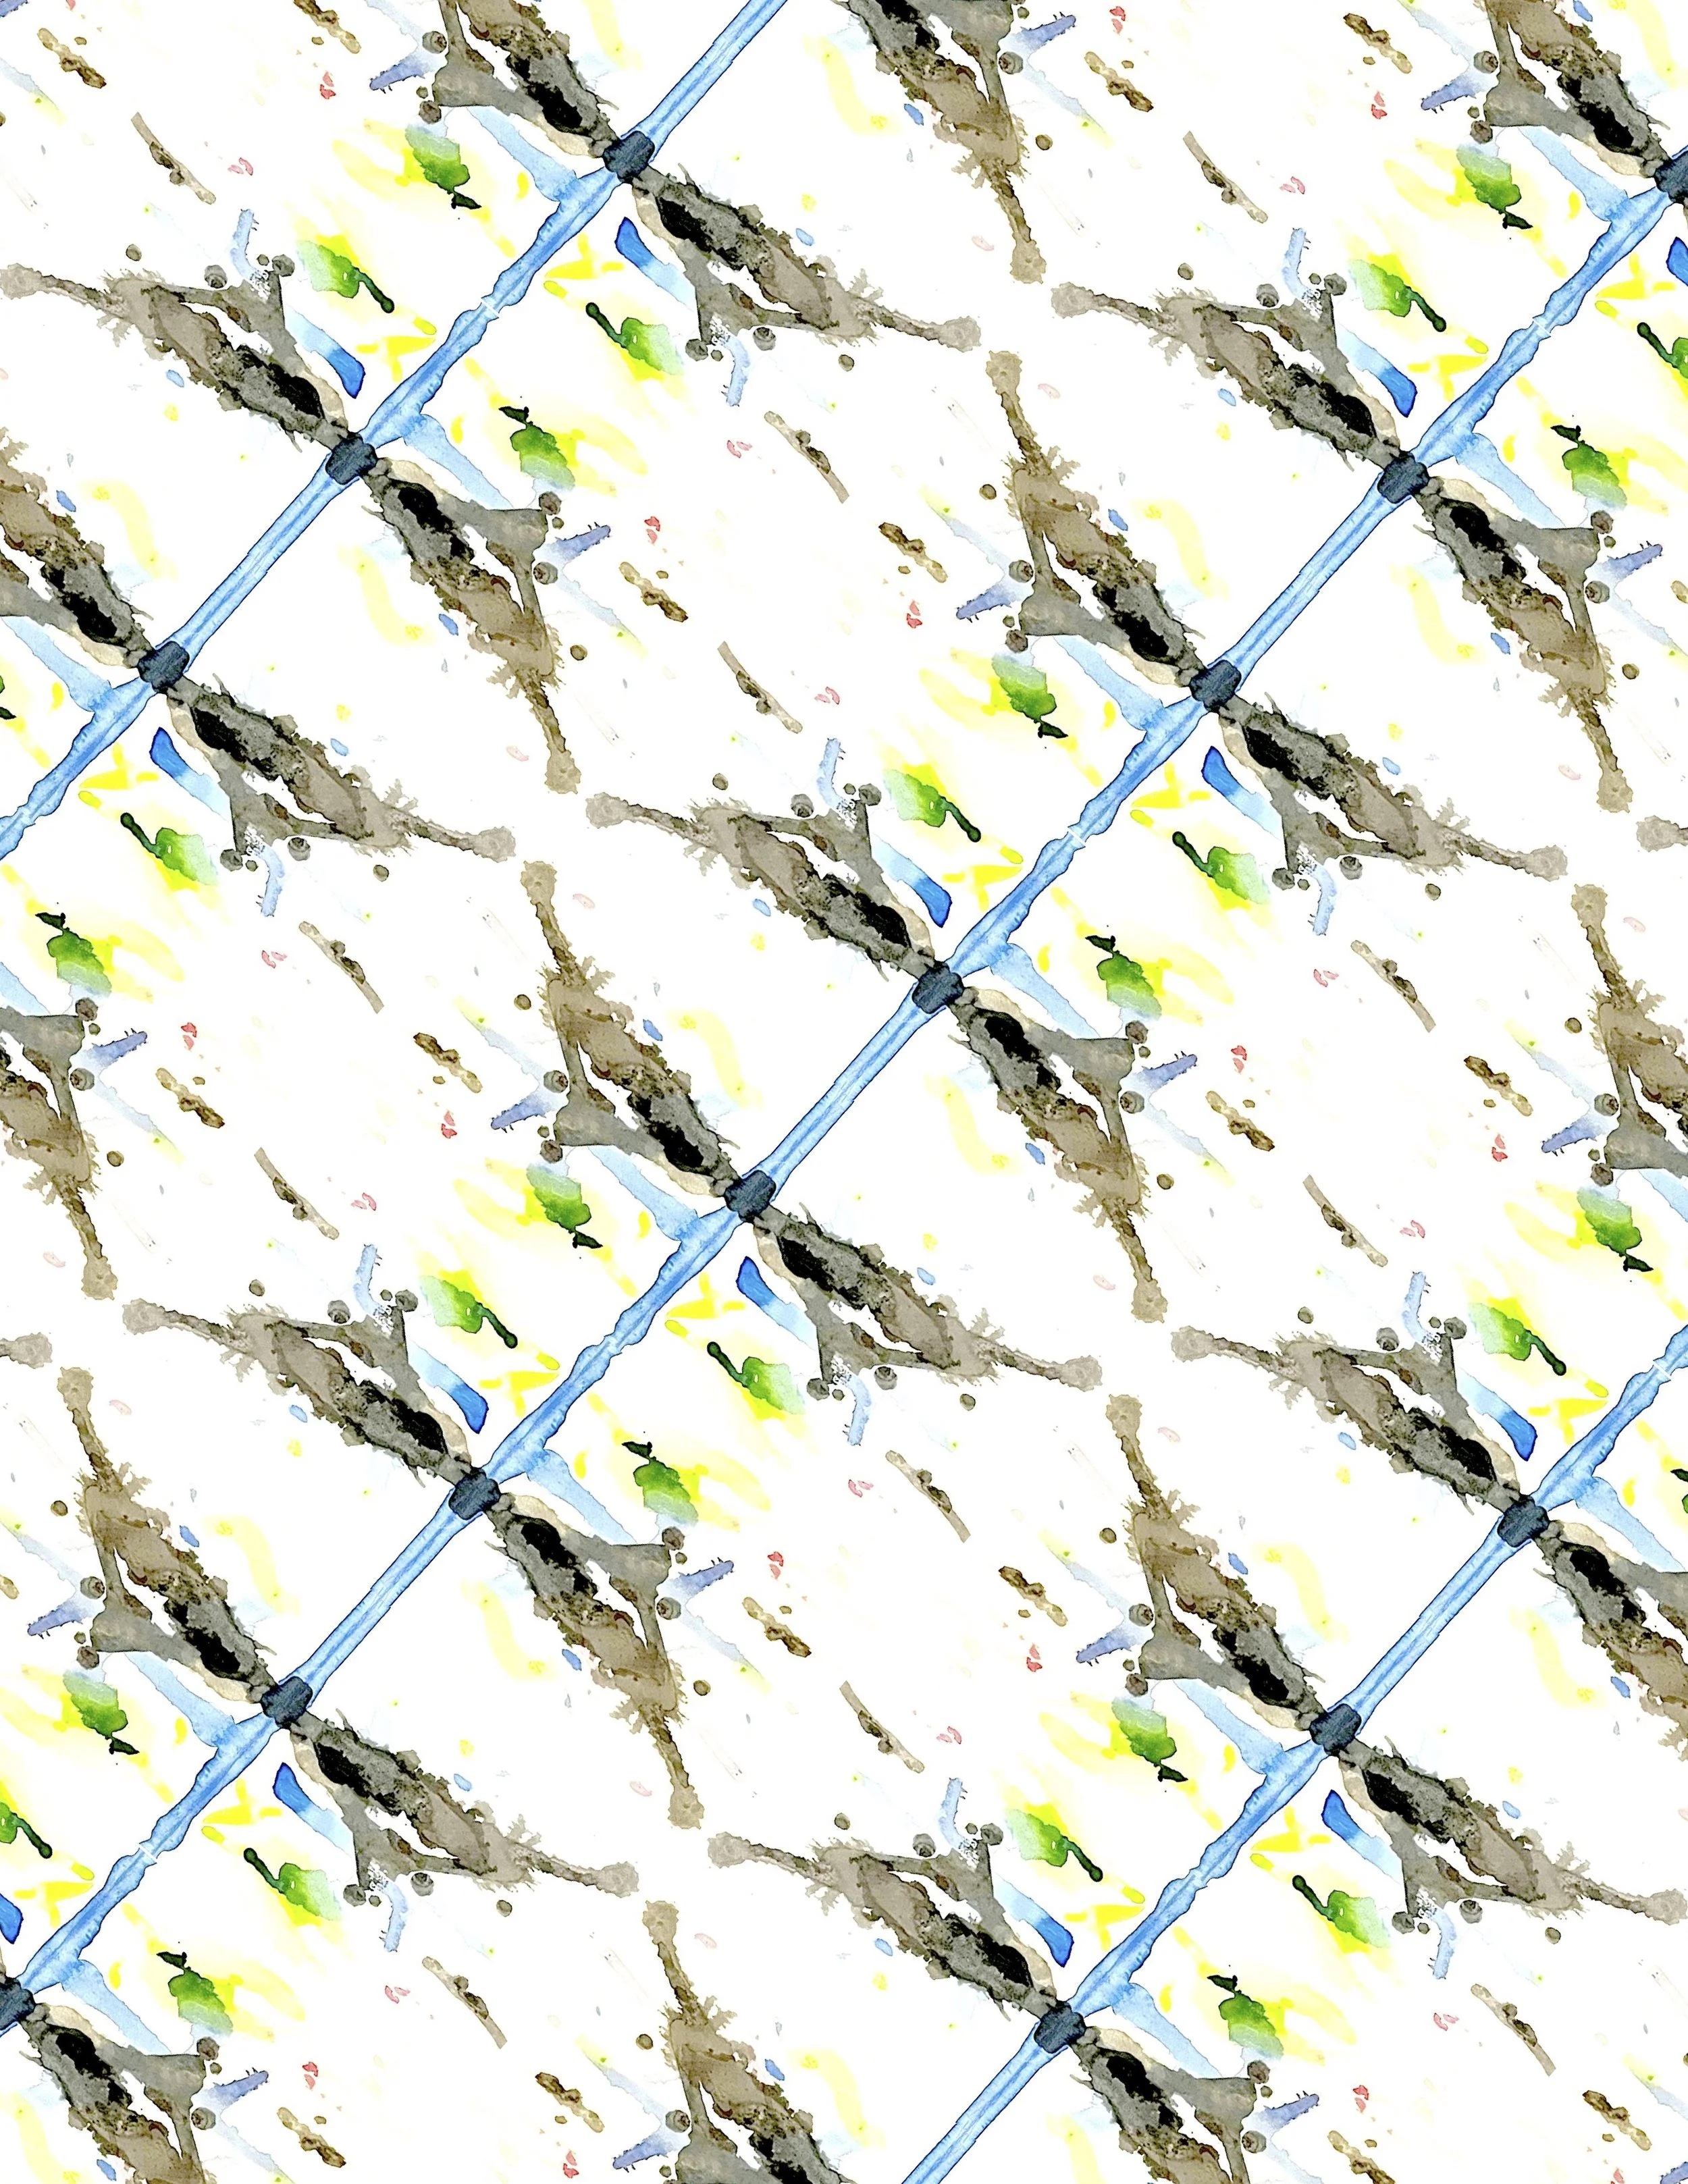
1) Inkblot Patterns
Inspired by the Rorschach test test, let's ease into pattern making by letting the ink and paper speak for us!
How to: make a fold in your paper down the middle before you start the activity. After that, open your paper back up and start placing drops of ink on both sides of paper. After a few drops, fold the paper in half and press down. When you open it back up, you will see that the wet ink has made a mirror image across the fold. Keep adding and blotting away ink until you are happy with the image.
Materials: paper (A4, cut in half), ink (black and colors), paper towels, newspaper
Example Video: (https://www.youtube.com/watch?v=CgnRev0FKx4)
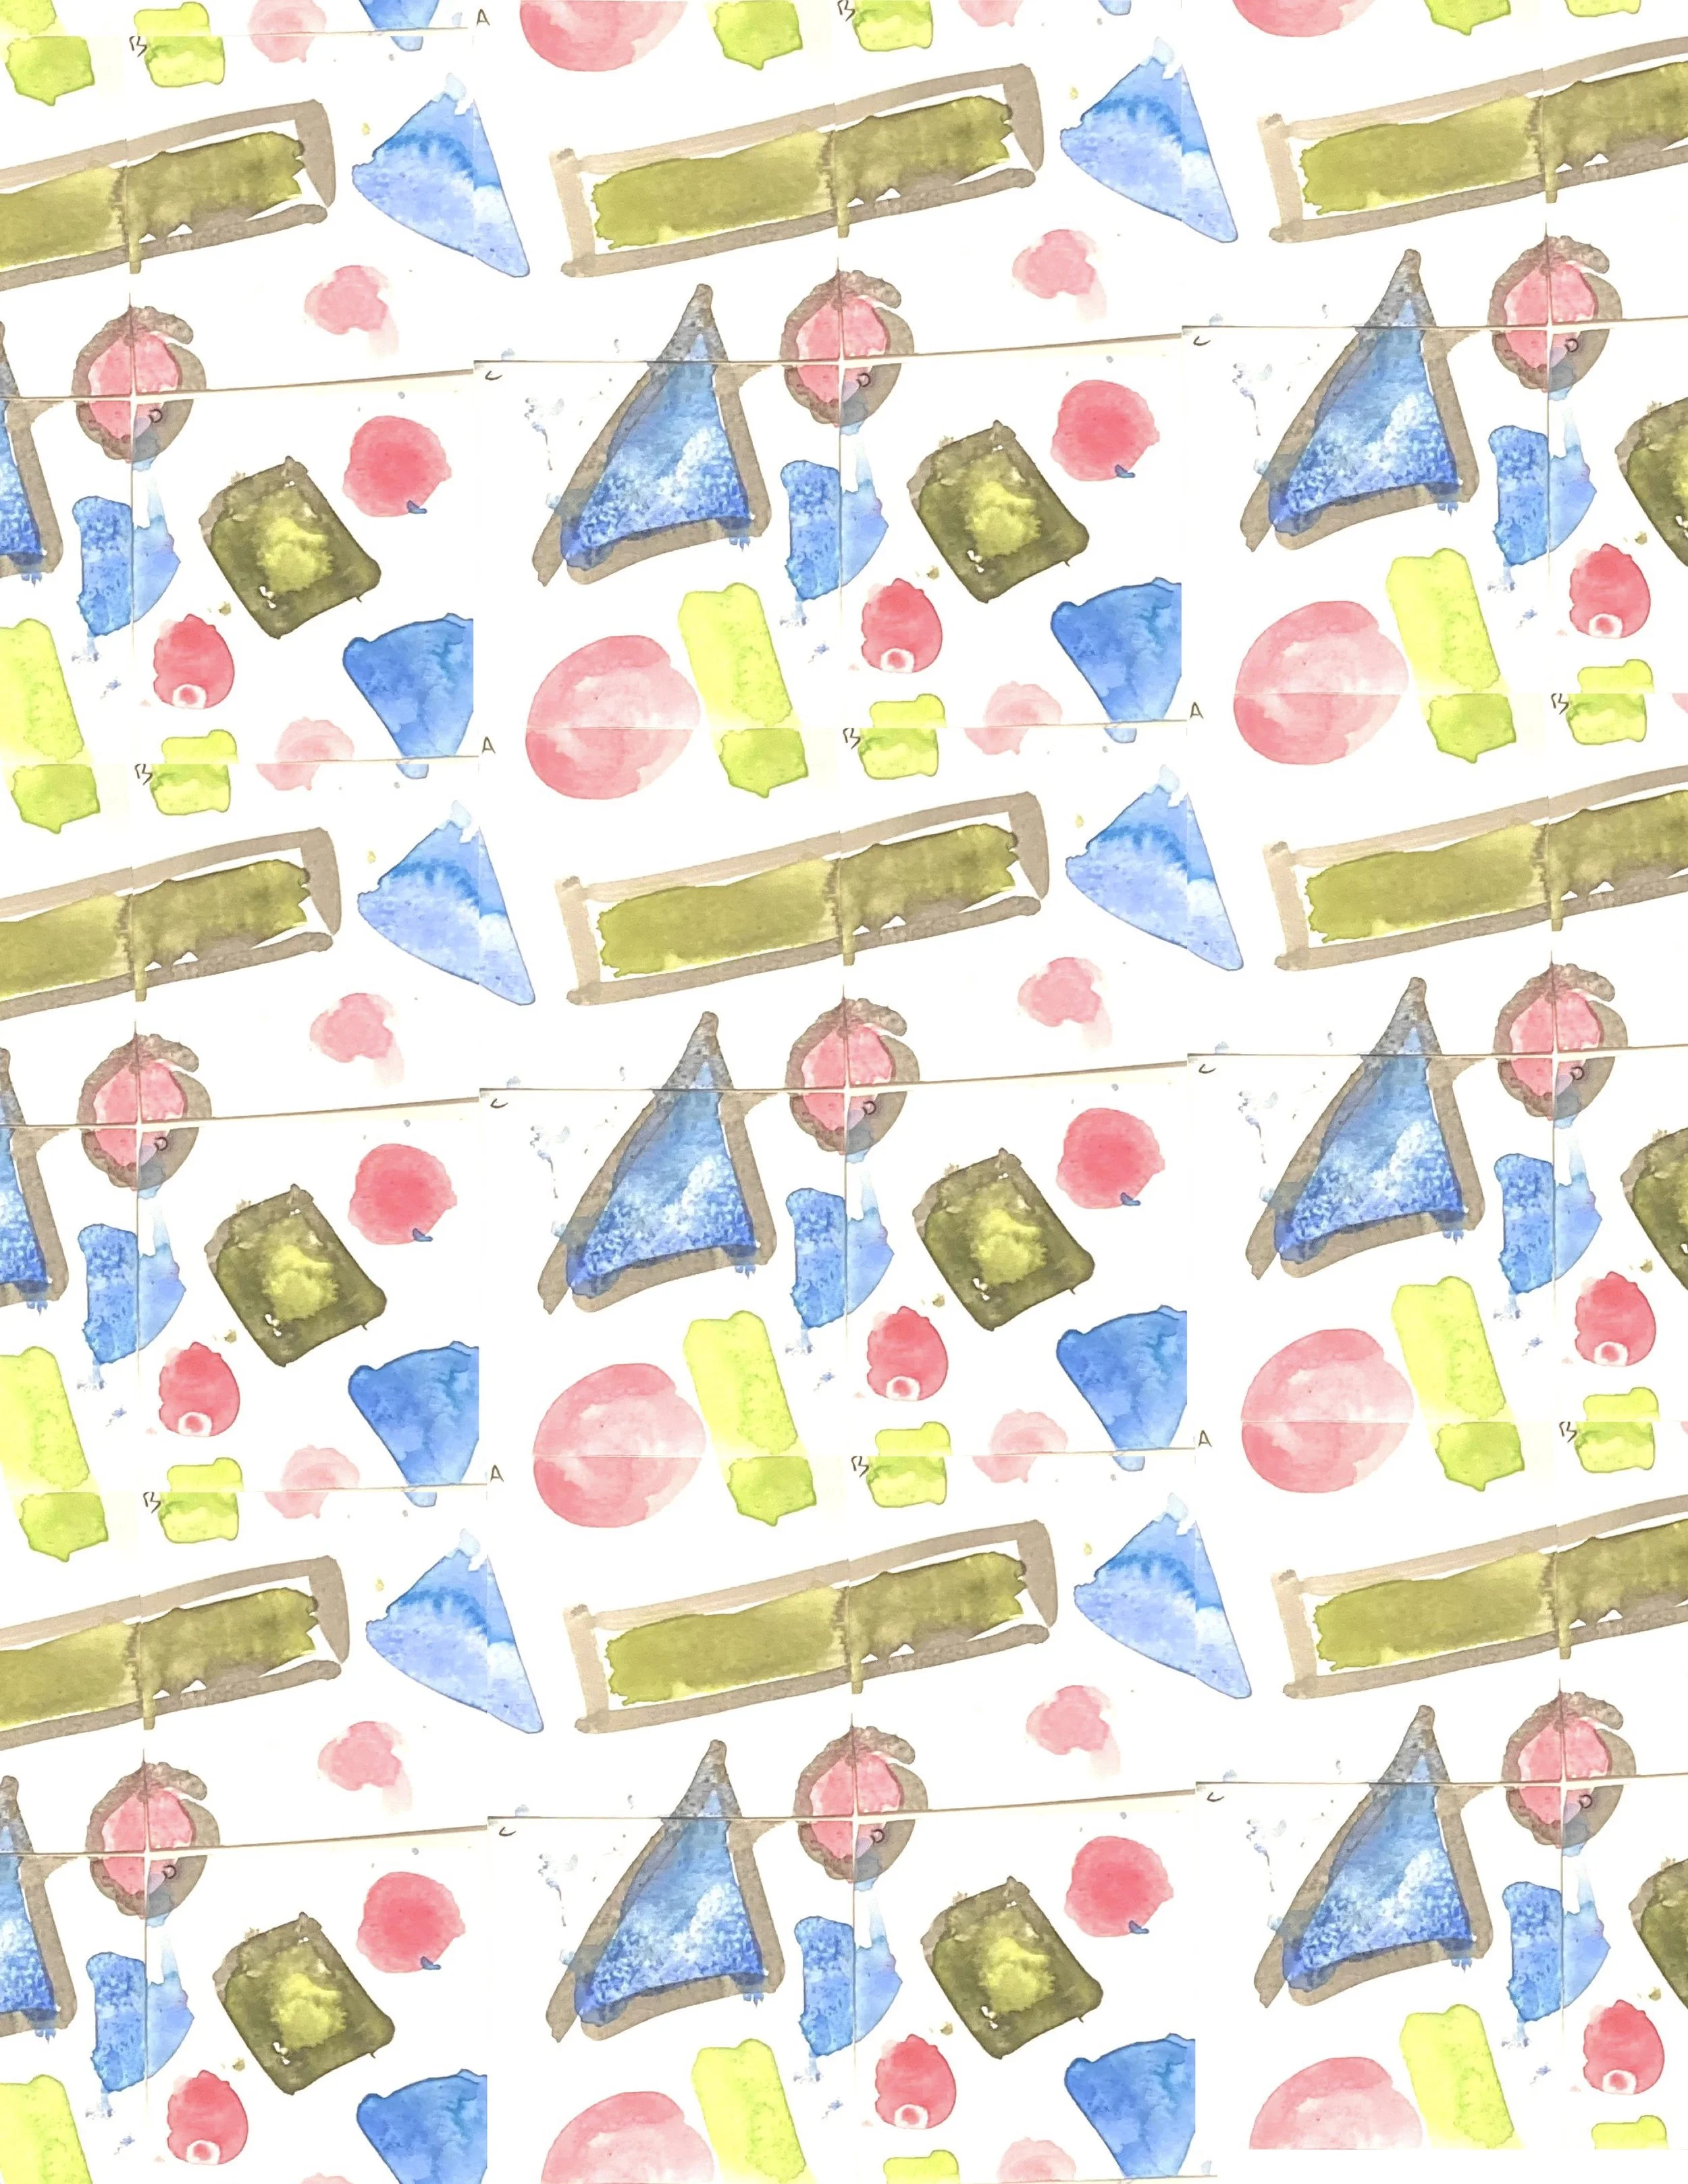
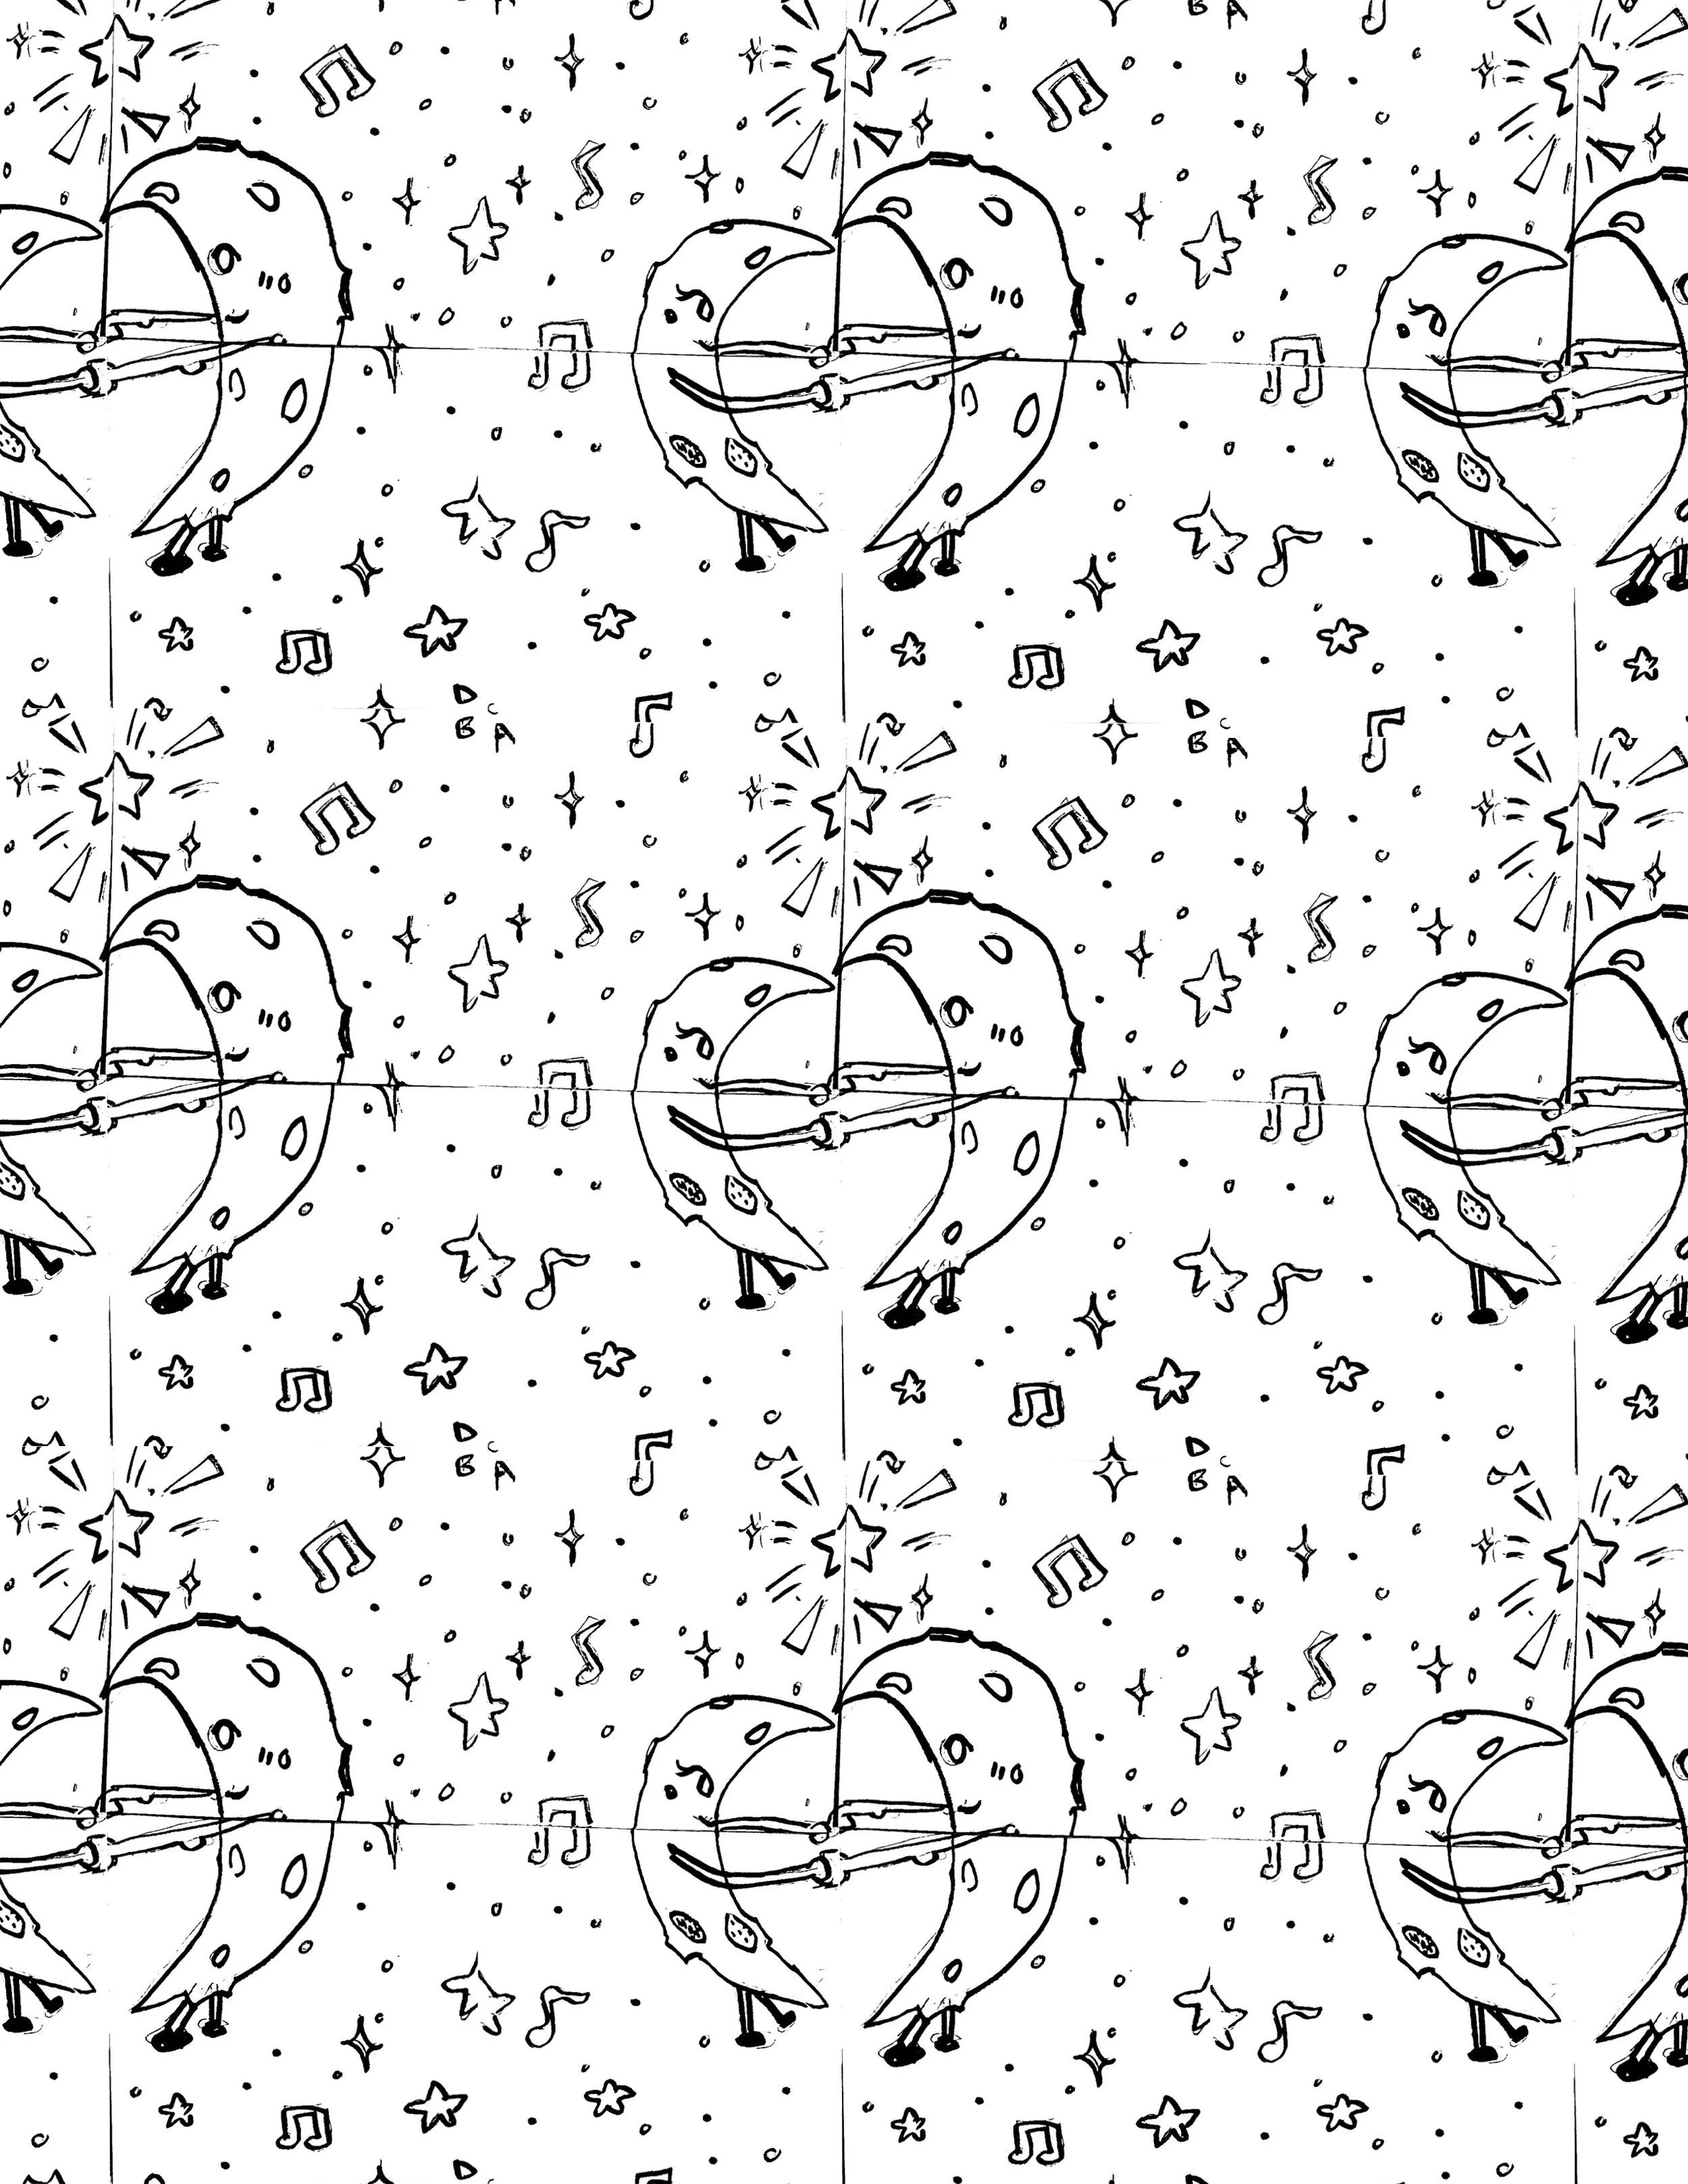
2) Repeating Patterns
Have you ever stared at wallpaper and wondered how it looks so seamless, even with the most complicated designs? Let's learn how they do it! (*For this pattern method, whenever you are filling up your page, do not go off the edge!)
How to (video): (https://www.youtube.com/watch?v=iPeEnnw7634), (https://youtube.com/shorts/9Wrbbl3hggA?feature=shared)
Materials: Post-its, pens/sharpies, tape
Extra Example Video (for screen printing) --> (https://www.youtube.com/watch?v=cScXEqlg5Qo)
Extra extra (https://www.youtube.com/watch?v=sTMk1jW24w8)
3) Bilateral Mirror Drawing / partnered
How to:
With your partner, decide on a theme for your piece. Choose three key words to get yourself in the headspace.
The first person will a distinct, fluid move, with both hands (slowly). The partner will mirror. They will switch off for three rounds (6 moves total). Assess your piece.
Next, each person will make an addition with one hand, mirrored by their partner. This will go back and forth until the design is finished to your liking. Fill in. Cross lines. Watch.
Materials: pastels, paper (large, semi-square), ruler, tape
Example Video: (https://www.youtube.com/watch?v=CjQKYeryE18)
4) Passed patterns
This activity is homework, and goes a little bit beyond conventional methods, mixing what we learned in class with more collaborative learning.
How to:
Choose two rules that will define your design. Write the rules on the back of the paper.
Pass. Read the two rules and represent them in two different ways. Fill the page 40%.
Pass. Finish the design so as to make it a repeating pattern.
Materials: a square sheet of paper, scissors, ruler, tape, pens/pencils
In class answers to the question, 'Why do you draw patterns?':
1) to fill space / to make a background
2) to fight boredom / to help me concentrate
3) because I like math & art (tessellation - https://www.mathsisfun.com/geometry/tessellation.html)
4) it organically comes from my mind